
Reviewed · WALKING TOURS
Adelaide Walking Tour: Grand Mansions and Sub-Divisions
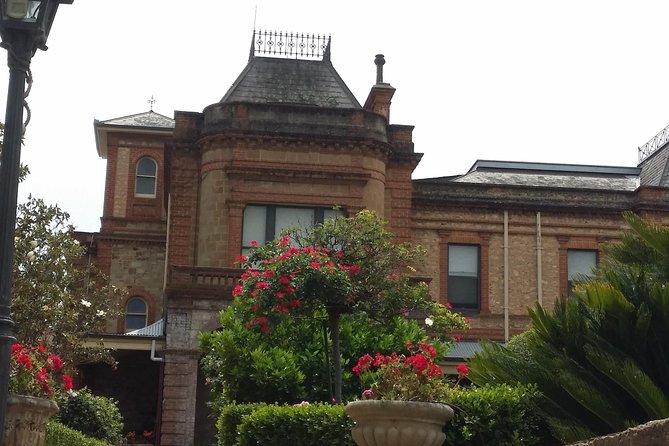
Mansions and workers cottages, side by side. I love how the walk keeps your eyes busy with North Adelaide architecture, and I like the way the guide stitches together stories of the people behind Lincoln College, the cottages, and the hotel facades. One thing to plan for: there is no hotel pickup, so you’ll need to get to the start point near O’Connell Street.
This is an easy, slow-moving morning stroll with a small group, designed for locals and visitors who want more than a quick photo stop. You might get a guide like Graeme, Ram, or Bryan, and the common thread in the reviews is clear, friendly history plus a real passion for the area.
The sites along the route are listed as free, so you are not hit with surprise ticket costs at each stop. The tour runs in all weather, and you should have a moderate fitness level for steady walking on sidewalks and garden-lined streets.
In This Review
- Key things you will notice on this North Adelaide walk
- Starting at O’Connell Street, then finding North Adelaide’s “why”
- Lincoln College, and the University of Adelaide connection
- St Margarets, Taylor House, and the range of domestic styles
- Victorian villas, iron foundry hints, and Chichester Gardens Estate
- Row houses, cottages, and the Kentish Arms Hotel cricket link
- German-influenced cottages and a clue-filled shopfront
- Lion Hotel, St Mary’s Catholic Church, and Mary Mackillop’s presence
- Admaston and the 1870s semi-detached streetscape
- The former Congregational Church and Lecture Hall to close the loop
- Time, pace, and who this walk suits best
- Value at about $36.93: what you are really paying for
- Will you enjoy this if you like architecture, not just landmarks?
- Should you book this North Adelaide mansions and subdivisions tour?
- FAQ
- What is the tour duration?
- Where does the tour start and end?
- How much does it cost?
- What is included, and what is not included?
- Is there transportation provided to and from the tour?
- Is the tour weather dependent?
- Can I get a refund if I cancel?
Key things you will notice on this North Adelaide walk
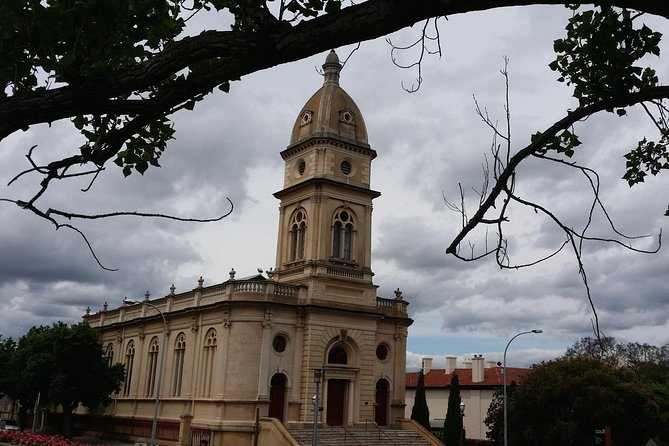
- Grand homes plus workers cottages in the same loop, so you see how Adelaide’s wealth sat next to everyday life
- Small-group pace that leaves room for questions and real conversation
- Free entry at the listed stops, so you can focus on the stories, not the fees
- Architecture prompts that help you spot eras and design choices as you go
- Local guide storytelling, often praised for clarity and genuine enthusiasm
Starting at O’Connell Street, then finding North Adelaide’s “why”
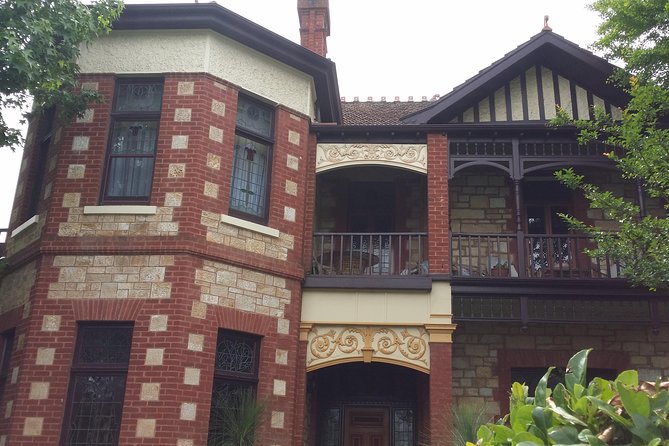
You begin at Da Vinci Ristorante on O’Connell St in North Adelaide, then your route swings toward the old street-corner feel of the neighborhood. The guide starts with an intro at the north-east corner of Brougham Place and O’Connell Street, setting the scene for how North Adelaide grew into an affluent residential area.
This opening matters because it gives you a lens for everything that follows. Instead of guessing which buildings are old and which are just attractive, you learn what to look for, like how different families and institutions shaped the streetscape.
More Walking Tours in Adelaide
- Ultimate Adelaide Walking Tour
★ 5.0 · 222 reviews - Cultural Caper Adelaide Walking Tour
★ 5.0 · 122 reviews - Welcome to Adelaide Walking Tour
★ 5.0 · 119 reviews
Lincoln College, and the University of Adelaide connection
One of your first major stops is Lincoln College. Expect a straightforward walkthrough of its building history, who has been connected to it, and why it matters in the wider North Adelaide story. A key detail is the link to the University of Adelaide, so the college stops feeling like a separate world and starts making sense as part of the city’s education and identity.
If you like architecture that still has a “function” (meaning it is not just a prop for sightseeing), this stop is a good early payoff.
St Margarets, Taylor House, and the range of domestic styles
From there, the tour shifts into homes and their different lives. At St Margarets, you get the former-use story and how the architecture reflects the people who occupied it. Then you move on to Taylor House, with notes on notable occupants and design features.
Next comes a Federation Style House, which is a great mid-walk marker because it helps you compare eras without needing a museum pass. By the time you reach the Georgian Style House later, you can start doing quick mental comparisons: symmetry and formality in one era, then newer tastes in another.
What I like about this part of the walk is that you are not stuck in one time period. You get a sense of how neighborhoods evolve, even when they keep their old bones.
Victorian villas, iron foundry hints, and Chichester Gardens Estate
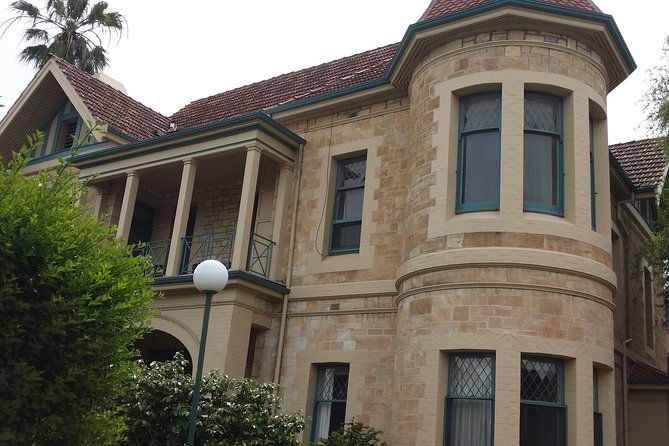
The route includes a Victorian Villa where the guide points out architectural details, including references to iron foundry work and clues about previous owners and house history. Even if you do not care about construction methods, these small design notes help you read the building the way a local would.
You also pass through the area connected with Chichester Gardens Estate. You are given the sort of context that makes a residential estate feel less like a name on a street and more like a planned community with its own logic.
This section is ideal if you enjoy walking with purpose. Each stop gives you a specific angle, so your two hours feel like progress instead of wandering.
Same part of the map, a completely different day:
- Barossa Premium Wine Tasting Tour & lunch Departs 7 days a week
★ 5.0 · 1,475 reviews - Adelaide: Barossa Premium Wine Tasting tour & Winery Lunch
★ 4.8 · 1,452 reviews - Kangaroo Island Full Day Experience by Ferry Including Lunch
★ 4.5 · 1,202 reviews - Discover Barossa: 4 Wine Tastings, Gourmet Lunch, and Hidden Gems
★ 5.0 · 1,027 reviews
Row houses, cottages, and the Kentish Arms Hotel cricket link
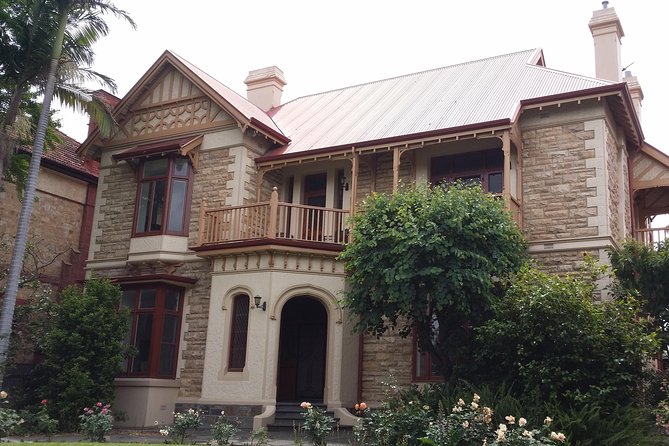
The tour then leans into housing styles that were built for more everyday, practical living. You see row houses and you get their usage explained in plain terms, including how they functioned as cottages for different residents.
Then you reach Kentish Arms Hotel, and here is a detail worth paying attention to: the connection with cricket. The guide covers history, previous owners, and what it is used for today. It is a good reminder that heritage is not only about mansions and churches. It is also about the social spaces where local culture happened.
If you are a fan of sports history, you will probably like this stop most. Even if you are not, the cricket connection gives the building a human story.
German-influenced cottages and a clue-filled shopfront
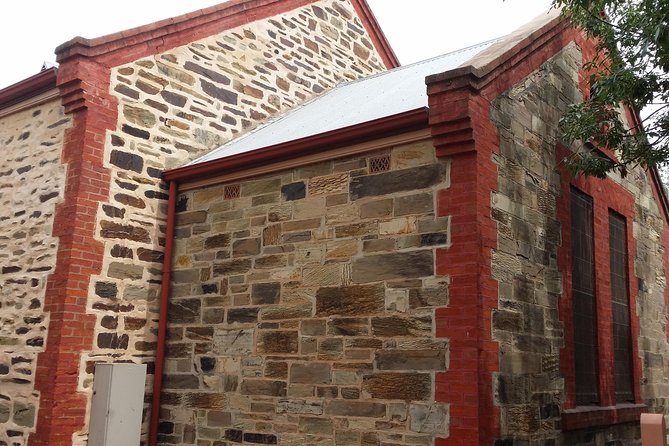
One of the most interesting parts of the walk is the set of homes connected with German influence. You will hear about the cottages, the German inhabitants, and how that community shaped what you see on the street.
You also get a look at an early two-storey limestone house, presented as one of the earliest houses in North Adelaide. Again, even without a ton of signage, the guide’s commentary makes the age and importance click.
Later, there is a stop that highlights a shop reference to a crest above the doorway and its usage. The lesson here is simple: you learn to notice small details, not just big facades. Those crest marks and doorway features are often what survive when street-level life changes.
Lion Hotel, St Mary’s Catholic Church, and Mary Mackillop’s presence
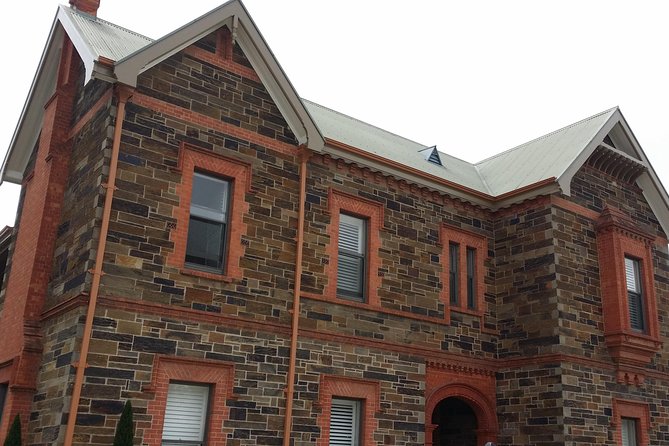
Toward the later part of the walk, you encounter Lion Hotel and the former malthouse. You get the history, how the place developed, and what it is used for now. A former malthouse is especially fun on a walking tour because it ties the building to real production and everyday business, not just “big building” vibes.
Next is St Mary’s Catholic Church, where the connection to Mary Mackillop is called out. That specific reference is valuable, because it anchors the church in a story you can connect to beyond North Adelaide.
If you want Adelaide history that is not only about one landmark, this stretch does a nice job balancing institutions, homes, and community life.
Admaston and the 1870s semi-detached streetscape
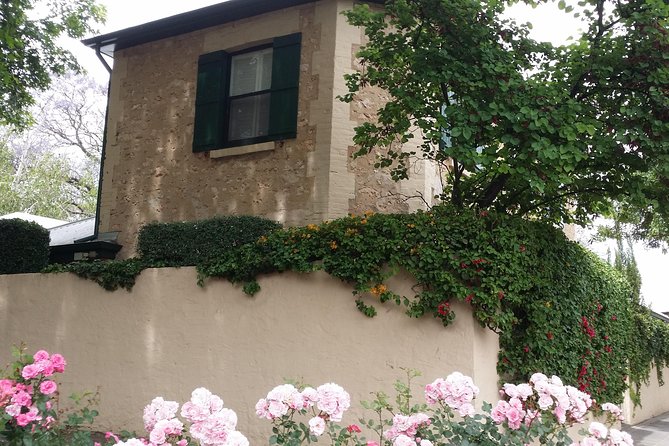
The route moves through Admaston, with guidance on history and architecture. Then you hit semi-detached houses from the 1870s, followed by a sandstone Victorian residence. These stops help you see how housing design changed as decades passed, and how construction materials like sandstone show up again and again in the neighborhood.
You also get mention of Hylands, described as a bluestone villa, plus notes about three Victorian villas in the area. Even with limited time, the guide gives you a set of labels so you can remember what you just saw.
This is the section where your photos get better. Once you understand the “why,” you stop photographing random windows and start photographing patterns.
The former Congregational Church and Lecture Hall to close the loop
You finish at the former Congregational Church and Lecture Hall. You should expect the story of what it was used for, plus how it is used now. This type of closure matters because you end with a building that carries a public purpose, not just private residences.
After that, you wrap up in Brougham Gardens (Park 29), opposite Brougham Place Uniting Church. The setting is a pleasant end point, and it is an easy spot to continue your day of Adelaide sightseeing with a coffee nearby and a clear sense of direction in the neighborhood.
Time, pace, and who this walk suits best
This tour is about two hours and designed to feel leisurely. It is the kind of activity that works well when you want a structured morning without spending your whole day in transit.
I also think it fits a wide range of travelers. Families can do it with adult supervision, and the tour notes it is suitable for all age groups. If you prefer your history in human scale, this is easier than museum hopping.
What to consider: there is no hotel pickup, so you will want to plan an efficient day. If you are staying central, you might still find the walk an easy add-on before or after other city sights.
Value at about $36.93: what you are really paying for
At $36.93 per person, you are paying for three things that often matter more than the price tag: a local guide, a small-group format, and a route that connects buildings into a story.
Because food and drinks are not included, it is smart to treat this as a morning activity. I would bring water, and plan a café stop before you run out of steam. Also note that the tour is about seeing and learning, not consuming a long itinerary of attractions with separate ticket costs at every turn.
If you like guided walking tours that help you read a neighborhood, the value feels strong. If you only want landmark-level sightseeing with minimal explanation, you might feel the time is better spent elsewhere. For the right traveler, though, two hours is a sweet spot.
Will you enjoy this if you like architecture, not just landmarks?
If you enjoy noticing design differences, this tour is built for you. You will see multiple eras referenced, from Georgian to Victorian, plus Federation style cues, and you get prompts that help you compare.
And if you care about Adelaide beyond the tourist highlights, this route offers a quieter, more local angle. North Adelaide can feel like a living archive, and the guide’s narration helps you treat it like one.
Should you book this North Adelaide mansions and subdivisions tour?
I think you should book if you want a guided walk that explains buildings, not just a photo loop. It is especially worth it when you are the kind of traveler who likes getting context early in a trip, or when you want something different from the city’s big-name attractions.
Book it with confidence if you like small-group guides and you can get yourself to the start point near O’Connell Street. Skip it or keep expectations modest if you want a zero-walking, fully vehicle-based tour, because this experience is built around steady foot time and street viewing.
FAQ
What is the tour duration?
The walk is about 2 hours.
Where does the tour start and end?
It starts at Da Vinci Ristorante, 10 O’Connell St, North Adelaide SA 5006, and ends at Brougham Gardens (Park 29), opposite Brougham Place Uniting Church.
How much does it cost?
The price is $36.93 per person.
What is included, and what is not included?
A local guide is included. Food and drinks are not included, and there is no hotel pickup or drop-off.
Is there transportation provided to and from the tour?
No. Transportation to and from attractions is not included.
Is the tour weather dependent?
It operates in all weather conditions, so you should dress appropriately.
Can I get a refund if I cancel?
Yes, you can cancel for a full refund if you cancel up to 24 hours in advance of the experience start time.
Newest Adelaide reviews on the site
- d’Arenberg Cube / McLaren Vale Regional Tour★ 4.5 · 26 reviews
- Wild Dolphin Watch in Glenelg★ 5.0 · 12 reviews
- Victor Harbor and Fleurieu Peninsula Tour★ 4.5 · 145 reviews
- Wild Dolphin Swim Cruise★ 5.0 · 55 reviews
- Victor Harbor and Southern Highlights from Adelaide★ 4.0 · 47 reviews
- Ultimate Maggie Beer’s Farmshop Experience★ 5.0 · 8 reviews
- The F Factor: Adelaide food tour★ 5.0 · 89 reviews
- Adelaide Twilight Cruise from Glenelg★ 4.5 · 94 reviews
Walking Tours, compared.
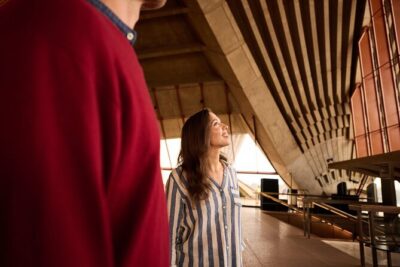
Sydney Opera House Official Guided Walking Tour
Read our review →
Blue Mountains Tour with Waterfall Walk & Lunch
Read our review →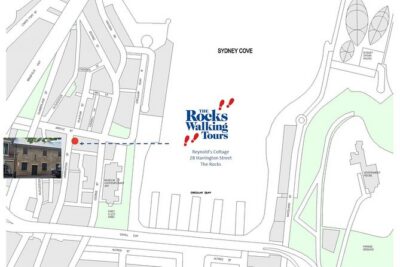
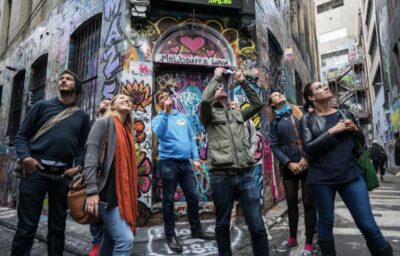
Ultimate Melbourne Walking Tour: History, Laneways & Culture
Read our review →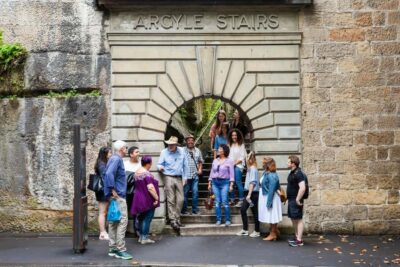

Great Ocean Road Tour Plus Koalas, Forest Walk and Morning Tea
Read our review →
Blue Mountains Small Group Tour with Waterfall Walk & Fresh Lunch
Read our review →
Maria Island Cruise and Guided Walk Day Tour with Lunch and Drinks
Read our review →Browse the lists this tour appears in